
Appliance IQ: Kitchen
How to Use Your Oven: Tips for Baking, Maintenance, and More
The oven stands as a centrepiece in numerous kitchens, playing a pivotal role in crafting delightful meals for you and your loved ones. Whether you're a novice or seasoned cook, understanding the nuances of your oven can elevate your cooking game, ensuring consistent culinary success. This guide is designed to acquaint you with various oven types and provide practical advice for optimal usage.
Step 1: Identifying Your Oven Model
Recognizing the type of oven you possess is crucial to your cooking process. The category—be it traditional, convection, gas, or electric—impacts the operational dynamics. Hence, acquainting yourself with your specific model paves the way for culinary consistency.
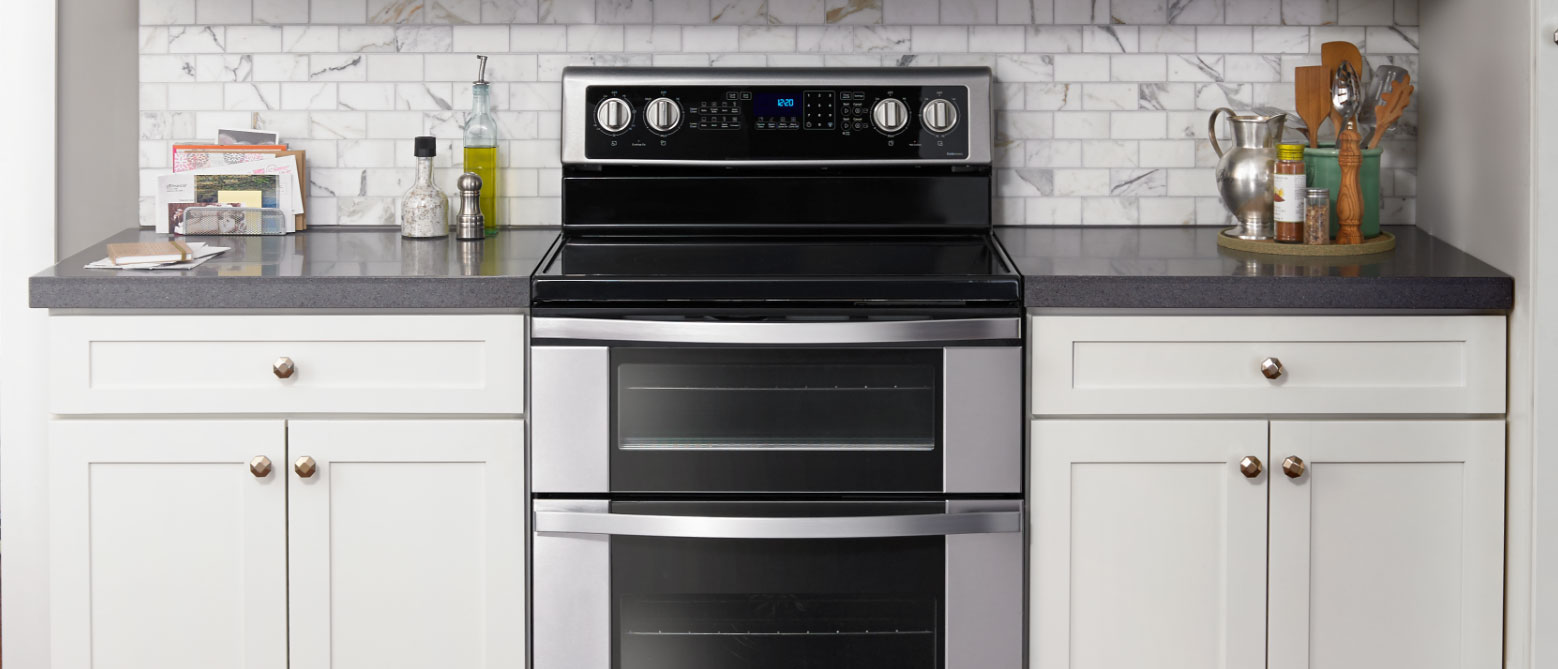

Traditional Ovens
Characterized by dual heating elements located at the bottom and top, traditional ovens rely on these components to heat and prepare the food. They serve as the standard reference for most baking recipes.
Convection Ovens
Distinctive for their built-in fan and exhaust system, convection ovens circulate heated air, ensuring a uniform temperature. This method not only allows for improved browning but also cooks food faster, necessitating adjustments to conventional cooking times. Learn more with this guide on the difference between convection and conventional ovens.
Gas Ovens
Though gas ovens reach the desired temperature swiftly, they may experience occasional heat variances. Placing a baking stone within can assist in stabilizing the temperature distribution.
Electric Ovens
These models are equipped with upper and lower heating elements, often concealing the lower one to simplify cleaning. Their slower preheating phase and moisture-free heat mean you might need additional steam for recipes requiring rise, such as bread.
Step 2: Setting Oven Racks for Different Cooking Methods
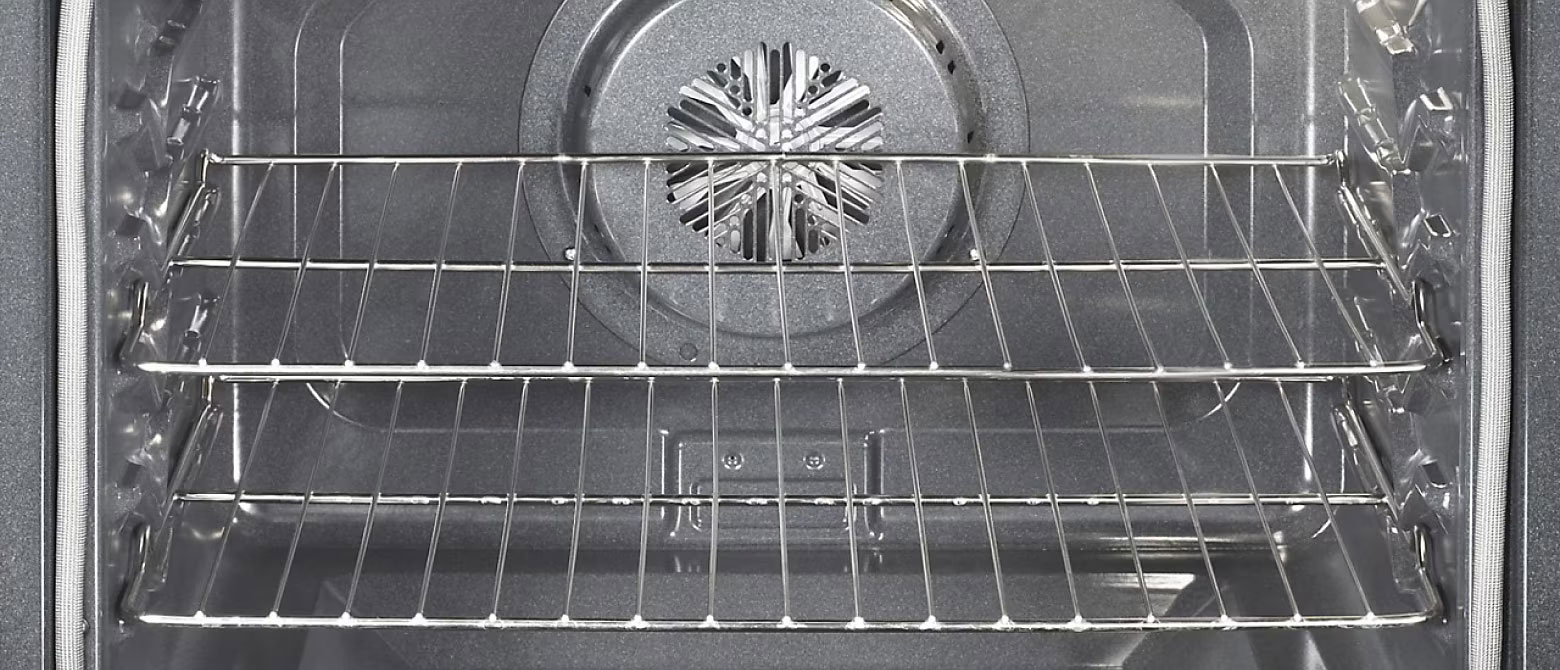

Rack positioning can significantly influence your cooking outcome. For convection ovens, the lower rack suits larger meat cuts, while the middle serves standard sizes, and the upper rack is ideal for broiling. Electric ovens typically require central placement, though you should always refer to specific recipe instructions or your user’s manual for precise guidance.
In gas ovens, the broiler drawer beneath the oven compartment demands particular attention for optimal browning. Moreover, given their tendency for heat fluctuation, rotating your dishes and careful rack arrangement is necessary for uniform cooking results.
Step 3: Achieving the Perfect Preheat
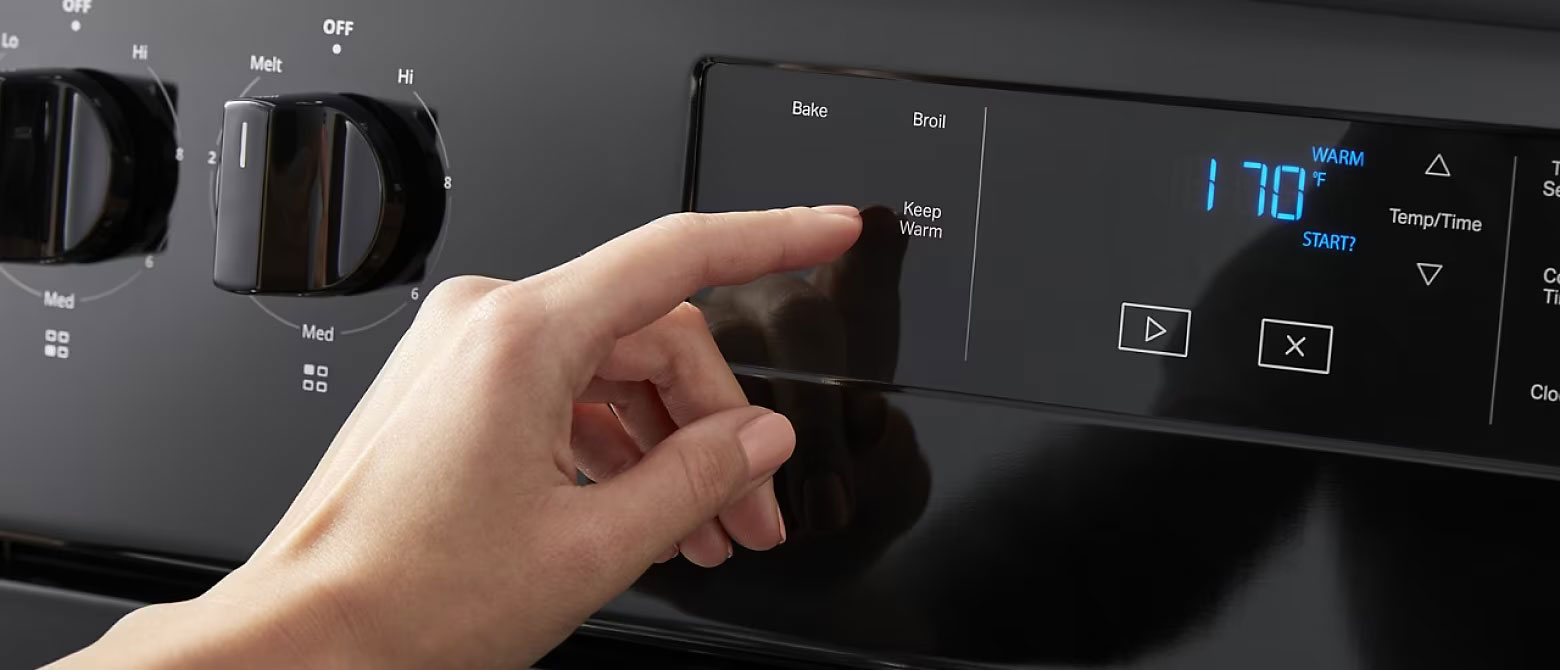

A properly preheated oven is key to thoroughly and evenly cooked dishes. To avoid undercooking or burning your food, allow sufficient time for preheating and resist the urge to open the door frequently, as this lets heat escape.
While standard recipes provide guidelines for electric ovens, convection models generally require a temperature reduction by about 25ºF. However, these adjustments can vary, and consulting your oven’s manual for tailored instructions is advisable. Learn how to recalibrate your oven's temperature for accuracy.
How Long Should Preheating Take?
Preheating durations differ among ovens, with some modern versions boasting rapid preheat features. Typically, reaching 350ºF takes around 10-15 minutes, with additional time needed for higher temperatures.
Step 4: Keeping a Watchful Eye During Cooking
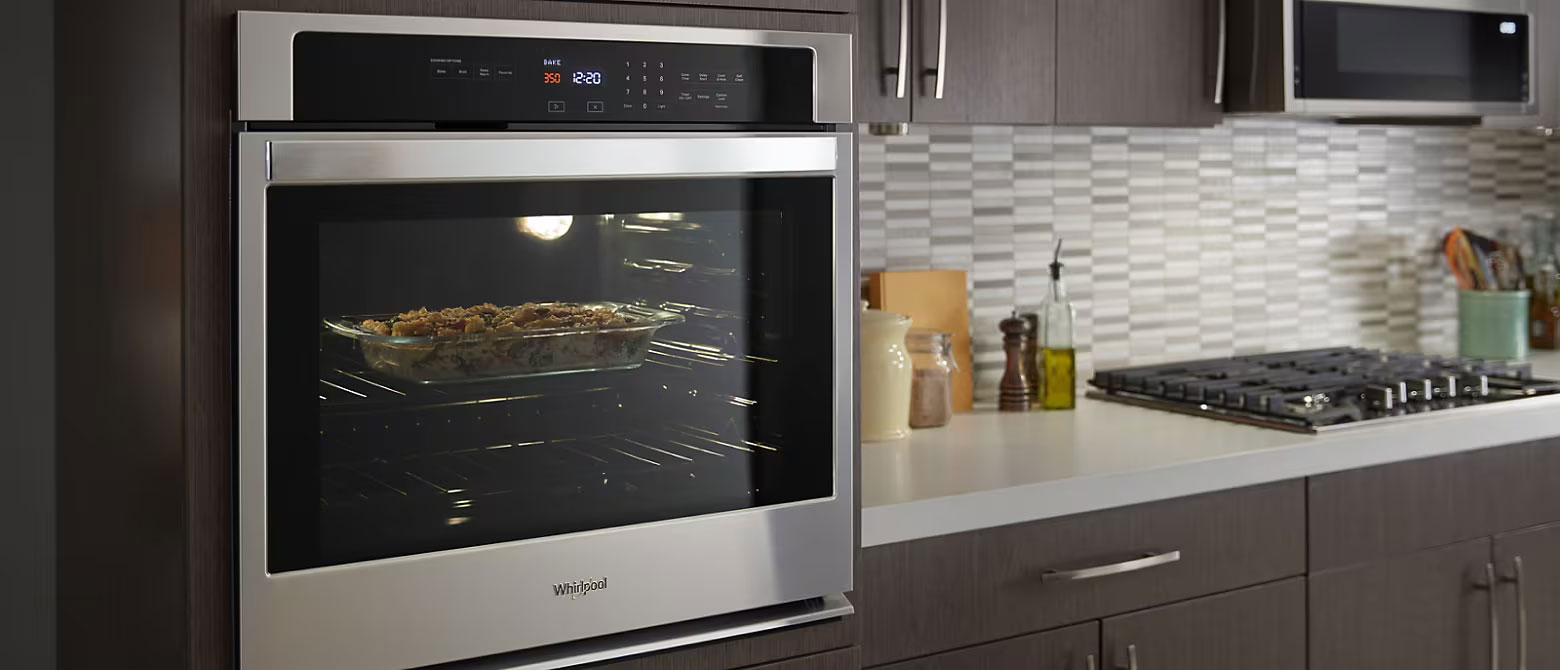

Monitoring your food while it cooks is essential to maintain consistent heat and ensure even preparation. Uneven browning or inconsistent shades in baked products could indicate hotspots, necessitating dish rotation.
For best results, avoid cramming dishes into your oven. If multiple dishes are necessary, use both racks and arrange them staggered to permit heat circulation. Use the oven window and a thermometer to check your food, minimizing door opening, and always set a timer!
Step 5: Maintaining Warm Dishes Until Serving


Several ovens feature a warming setting, but if yours doesn't, you can still retain your food’s warmth. Simply reduce the heat to around 200ºF and cover your dishes with aluminium foil. For crispy items, place them in a single layer on a cooling rack atop a baking sheet. To preserve taste and texture, try not to extend this warming period beyond an hour.
Step 6: Routine Oven Maintenance and Cleaning
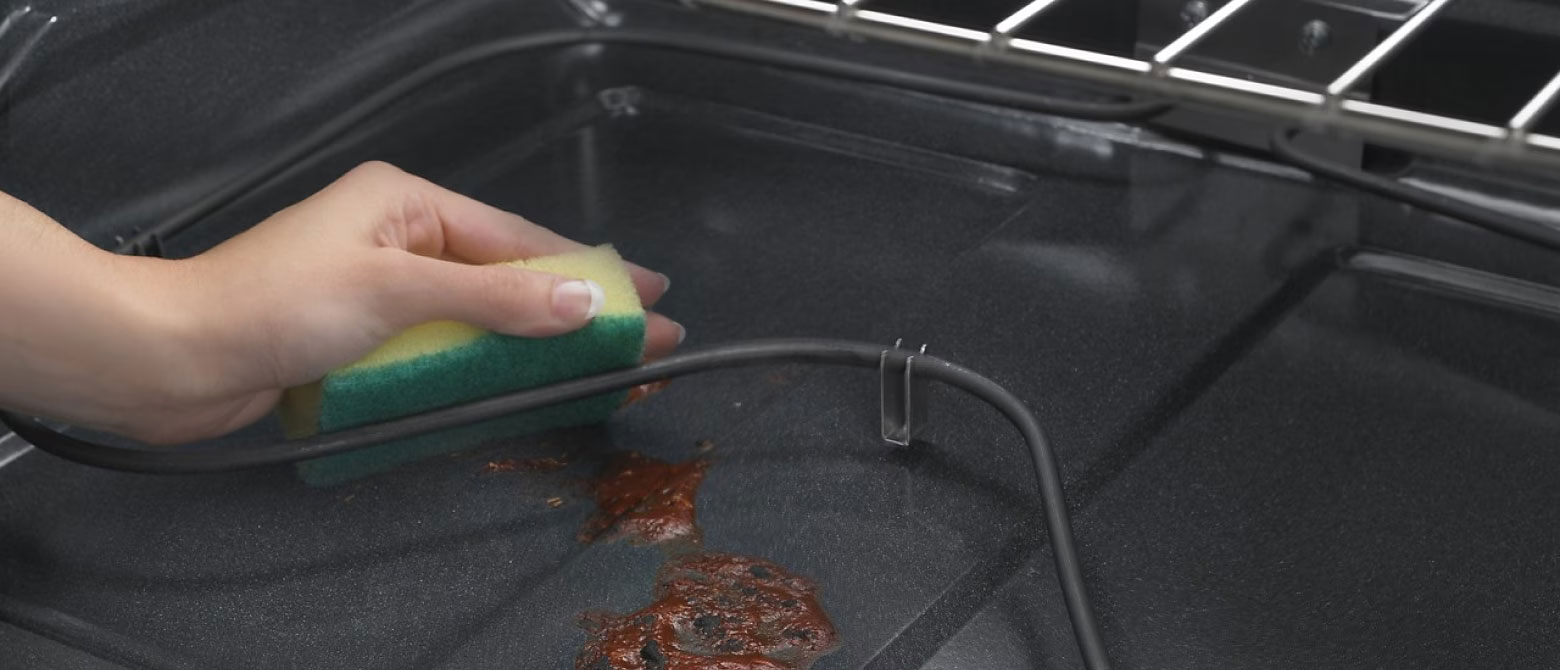
Regular cleaning is integral to your oven’s efficiency. Promptly address any spills, as neglect can lead to smoke, excessive heating, and flavour alteration.
For ovens with self-cleaning capabilities, ensure the removal of leftover crumbs post-cycle. Alternatively, a mixture of baking soda and water, applied with a gentle sponge and rinsed with white vinegar, proves effective for manual cleaning.
It is also important to clean up any food that falls on the oven floor, since leaving them could cause smoke and overheat your oven, as well as transfer unpleasant flavors to your food.

Enhance Your Culinary Experiences
Mastering the various aspects of using your oven not only enhances your culinary skills but also ensures you get the most out of this essential kitchen appliance. Whether you're baking or roasting, or simply keeping your meal warm, each step is integral to providing a delightful family dining experience. Regular maintenance, understanding your oven’s specifics, and proper usage contribute to consistent results and the longevity of your appliance.
If you're thinking about acquiring a new oven or simply upgrading your current one, consider browsing our Whirlpool® collection. These offer a balance of contemporary technology and energy efficiency, designed to complement your family’s cooking and baking activities.
Appliance IQ
Want more answers to your kitchen and laundry questions?

